
Last updated: November 14, 2026
Key Takeaways
- A frameless shower glass sealant system keeps water where it belongs without locking the enclosure shut.
- Seal fixed joints, water-entry points, and design-specific closed edges.
- Some edges need drainage and movement, so not every edge should be caulked.
- Use a bathroom-rated silicone sealant suited to wet areas rather than acrylic latex caulk.
Frameless shower glass sealing usually means sealing the sealant system, not smearing caulk over every edge. The wrong bead can trap water, stain glass, and block drainage, while the right silicone, sweep, threshold, and corner seals keep splash inside the shower. The sections below sort out where to seal, where to leave a gap, and how long sealant should cure; if your enclosure design is unusual, consult a professional and follow the manufacturer’s instructions. For context on joint materials, see the ASTM C920 standard for elastomeric sealants and Dow’s silicone sealant guidance.
What a frameless shower glass sealant system actually does
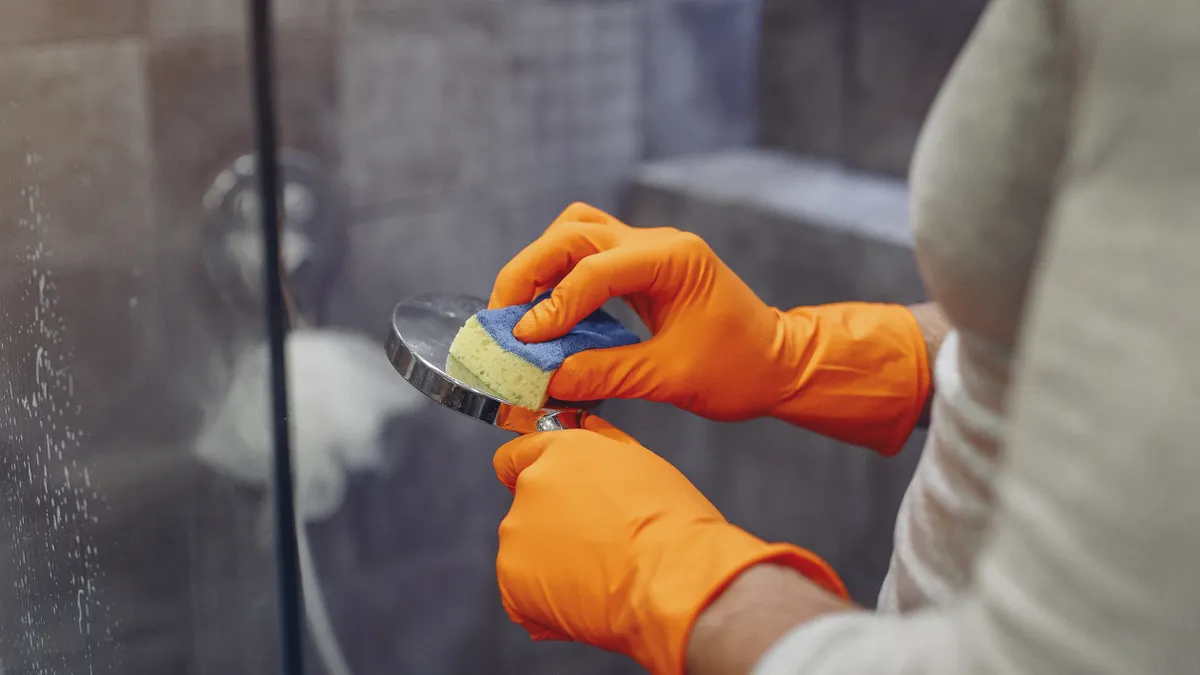
A frameless shower glass sealant system keeps water where it belongs without locking the enclosure shut. It uses silicone sealant, door sweeps, thresholds, and corner seals to manage splash, not to glue every panel in place.
Picture this: you’re looking at a clean frameless enclosure and wondering why some joints are sealed tight while others are left open. The answer is simple—water-control sealing and structural sealing are not the same job. One keeps the shower dry. The other keeps the glass stable.
A proper setup usually includes:
- Silicone sealant at fixed joints that should not move
- A door sweep on the bottom of a swinging door
- A threshold or curb edge where water tends to escape
- Corner seals where two panes meet and splash can collect
- Open drainage paths where water needs to run back into the shower
The bad habit is to caulk every seam because it looks finished. That can backfire fast. Closed joints can hold standing water, make cleaning harder, and hide grime behind a dark bead. The better aim is a controlled path: seal the places that need a barrier and leave the rest free to drain.
For a broader fit-and-install context, this guide sits under the frameless shower glass installation and fit hub, but this page stays focused on sealing, not on installation steps.
Where should frameless shower glass be sealed?
You should seal fixed joints, water-entry points, and places where the design calls for a closed edge. That usually means the threshold, select vertical seams, and the bottom of the door sweep area—not every edge you can reach.
Picture this: you’ve finished the glass work and now you’re staring at three seams that all look sealable. The trick is to ask one question at each seam: does this joint need to move, drain, or stay shut? If it needs to move or drain, a full bead may be the wrong move.
Use this order of judgment:
- Fixed-to-fixed joints: Seal if the joint is meant to stay closed and the manufacturer or installer design calls for silicone.
- Glass-to-threshold contact: Seal where water could run under the glass and escape to the outside.
- Door bottom: Fit a door sweep so the door sheds water instead of dragging it out.
- Splash corners: Add corner seals where spray hits a gap directly.
- Drain paths: Leave lower edges open if they need to release water back into the shower pan.
A common design detail is the threshold. Even a small raised edge can help manage splash, but it should not become a dam that traps water behind the glass. If the bead blocks drainage, the shower may look sealed and still leak at the weak point nearby.
The practical test is visual, not fancy: if the water has nowhere to go, you have a problem. If the bead bridges a gap that should flex or drain, you may have created one. A neat line is not the same thing as a correct line.
Should all edges be caulked?
No, all edges should not be caulked, because some edges need drainage and movement. Over-caulking is one of the most common mistakes in a frameless shower glass sealant system.
Picture this: you want a crisp finish, so you run silicone along every edge that looks unfinished. It seems tidy on day one. Then water sits behind the bead, soap scum clings to the ridge, and the seal starts to fail at the hidden edge.
Here’s the catch: not every gap is a leak path. Some gaps are intentional. A frameless enclosure often needs tiny clearances so the door can swing, the panel can settle, and water can return to the shower floor instead of getting trapped.
Use this rule of thumb:
- Seal where water escapes
- Do not seal where parts move
- Do not seal where water must drain
- Do not seal over unfinished grout or damp dust
A bad bead can cost more than a thin line of missed sealant. If it traps moisture, the glass line can look cloudy, mildew can form around the edge, and the job can need a full rework. That is far more work than doing fewer, better beads in the first place.
The cleanest result usually comes from restraint. Seal only the joints that need a water barrier, then leave the rest open and visible. A frameless shower is supposed to breathe a little.
Which silicone sealant should be used?
Use a bathroom-rated silicone sealant for wet areas, and check the label rather than assuming every “waterproof” tube is the right choice. Bathroom silicone handles constant moisture better and stays flexible around glass, metal, and tile.
Picture this: you’re standing in the aisle with tubes that all claim to be “waterproof.” The label that matters most is the one that says silicone is intended for wet areas and glass. That choice matters more than color match alone.
Look for these traits:
- 100% silicone, not paintable acrylic
- Mold-resistant or bathroom-rated formulation
- Compatibility with glass, tile, and metal trim
- A finish that matches the enclosure, often clear or white
- Packaging that lists a reasonable curing window for wet areas
Silicone has trade-offs. It can be harder to remove than painter’s caulk, and once it skins over, cleanup gets messy. It also can’t be painted. That is fine for a shower, where water resistance matters more than paintability.
The wrong sealant can fail in a slow, annoying way. It may peel at the edge, pull away from glass, or mildew faster than a better bathroom-grade product. That’s why the label matters more than the color on the shelf.
If the shower has a lot of direct spray, choose the product as if you expect the bead to stay wet at the edges. That is where weaker sealants give up first.
How do you seal the glass without trapping water?
You seal the joint cleanly, keep the bead narrow, and stop before you block the drainage route. The aim is a controlled line of silicone sealant, not a thick ridge that seals in moisture.
Picture this: you’re applying sealant around a panel edge and the urge is to “make it extra secure” with a heavy bead. That urge can create the same kinds of problems people later call leaks. A thick bead can bridge gaps that need movement and can hide a pocket where water sits. If the layout is unusual, consult a professional and check the product instructions before sealing.
Follow this sequence:
- Clean and dry the area completely.
- Mask the edges if you want a crisp line.
- Apply a narrow bead of silicone sealant at the intended fixed joint.
- Tool the bead so it fully contacts both sides without piling up.
- Leave any drainage gap open.
- Fit the door sweep and corner seals only where the design needs splash control.
- Let the sealant cure before any water hits the enclosure, following the tube directions and, if needed, a professional’s advice.
A useful detail is the threshold. If the threshold edge is sealed, the bead should support water control without building a wall that backs water up under the glass. Think barrier, not bunker.
The best result is usually the one with the least material that still does the job. If the bead bulges, the line often looks amateur and can collect grime faster. If the bead is too thin, it may fail at the edge. The right middle is a narrow, continuous line with no gaps and no blobs.
How long should sealant cure?
Sealant should cure fully before the shower is used, and the exact wait time depends on the product label and room conditions. Many bathroom silicones skin over fast but need longer before they are ready for water.
Picture this: you finish the bead, it looks dry on the outside, and you want to use the shower that night. That is where many sealing jobs go wrong. A skin is not a cure. The surface can look done while the inside is still soft. If the schedule is tight or the enclosure is complex, consult a professional and follow the product label.
Check the tube for the stated cure time and keep these conditions in mind:
- Cooler rooms slow curing
- Thick beads take longer than thin beads
- Humid rooms can change how the surface skins
- Water exposure too soon can weaken the bond
A good habit is to treat the label as the minimum, not a suggestion. If the shower is used before the sealant sets, the bead can wash out at the edges or lose shape before it bonds properly.
The first 24 hours matter most for many bathroom sealants, but the product directions are the final word. If the label says longer, wait longer. A shower enclosure is not the place to gamble on a half-cured bead.
What does a bad sealing job look like?
A bad sealing job looks like trapped water, peeled edges, milky buildup, and beads that are too wide or too high. If the sealant bridges a moving joint or blocks drainage, the defect often shows up within the first few uses.
Picture this: the glass looks polished, but the shower floor stays damp near the outside edge. That is a sealing clue, not a mystery. Water is finding a path the bead did not properly manage.
Common warning signs include:
- Silicone pulling away from glass or tile
- A bead that is cracked, lumpy, or hollow in spots
- Water sitting behind the seal after shower use
- Mildew on the outer edge of the bead
- A door sweep that drags or leaves a gap
The cost of a bad seal is usually not the bead itself. It is the cleanup, the rework, and the hidden moisture that keeps causing trouble. In a frameless enclosure, one bad line can make the whole installation feel off.
This is also where over-sealing shows itself. If the shower looks “caulked to death,” the fix is often to remove the bad bead and reseal only the proper joints. Less material, placed better, usually beats a thicker line in the wrong place.
What should you ask a contractor before sealing work starts?
You should ask where the sealed joints will be, which parts will stay open, and which silicone product will be used. Those three questions tell you whether the plan is built for water-control sealing or just for appearance.
Picture this: you’re comparing bids and one contractor says everything will be “sealed up.” That sounds reassuring until you ask where the drainage path is. A good answer names the threshold, the door sweep, the fixed joints, and the open edges separately.
Ask these questions:
- Which seams get silicone sealant?
- Where will the door sweep go?
- Will the threshold be sealed or left to drain in part?
- Which corner seals are included?
- How long before the shower can be used?
- What would count as a failed seal after the job?
You do not need a long speech from the contractor. You need a clear map of the bead lines and a clear cure window. If the plan sounds vague, the result often is too.
A solid sealing plan is easy to explain in one minute. A weak one hides behind words like “we always caulk everything.” That approach may look tidy, but it often misses how frameless glass actually sheds water.
FAQ
Where should frameless shower glass be sealed?
Seal the fixed joints, the threshold area, and the places where splash can escape. Leave moving joints and drainage gaps unsealed so water can return to the shower floor instead of getting trapped behind the bead.
A frameless shower glass sealant system should control water, not block every opening. The right answer depends on the panel layout, but the usual targets are the bottom edge, fixed seams, and corner splash points.
Should all edges be caulked?
No, all edges should not be caulked. Some edges need movement or drainage, and caulking them can trap water and create mildew or peeling later.
The better approach is selective sealing with bathroom-grade silicone sealant. If a joint flexes or serves as a drain path, leave it open unless the design specifically calls for sealing.
How long should sealant cure?
Sealant should cure for the time listed on the tube, and the shower should stay dry until that cure window is complete. Skinning over is not the same as being ready for water.
Room temperature, humidity, and bead thickness all affect cure time. If the product says longer than you expected, follow the label and wait.
Drafted with AI; not yet reviewed by a person.


[…] frameless shower glass clear with a 2-minute post-shower wipe and one weekly […]